Change Date and Time in Windows 10 using Control Panel
To change Date and Time in Windows 10 with Control Panel, do the following.
- Open Control panel.
- Go to Control Panel\Clock, Language, and Region.
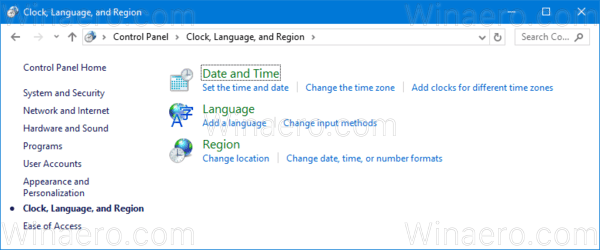
- There, click on the icon Date and time. The following window will appear:
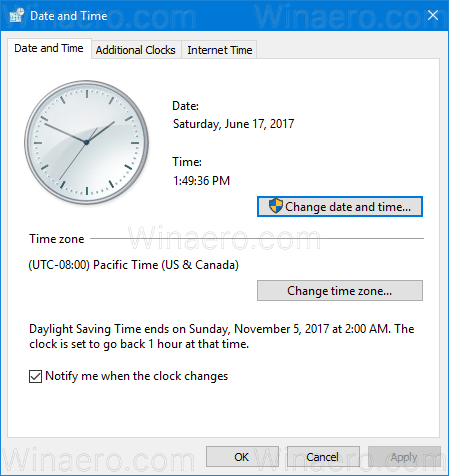
- Click on the button Change date and time.
- If a UAC prompt appears, click on the Yes button to proceed.
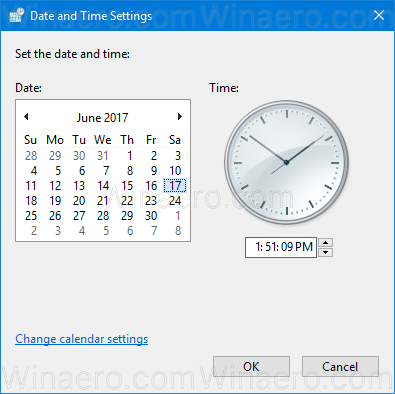
- Now, change the date and time to the correct values of month, day, year, hour and minute. Click the OK button to set new values.
Change Date and Time in Windows 10 using Settings
To change Date and Time in Windows 10 with Settings, do the following.
- Open Settings.
- Go to Time and Language – Time.
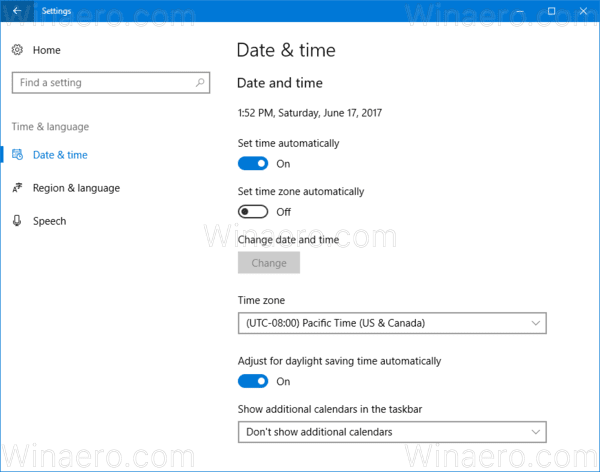
- On the right, turn off the option Set time automatically.
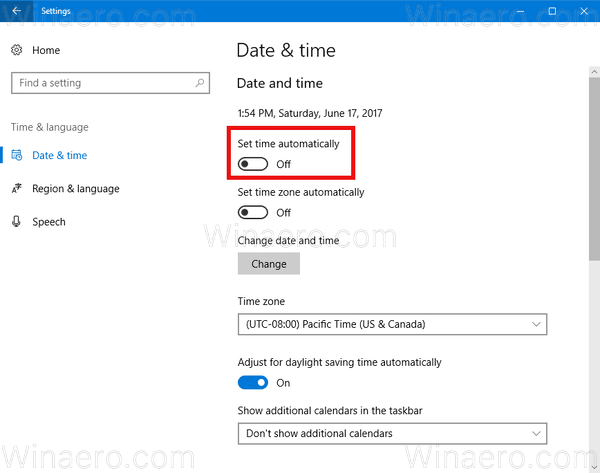
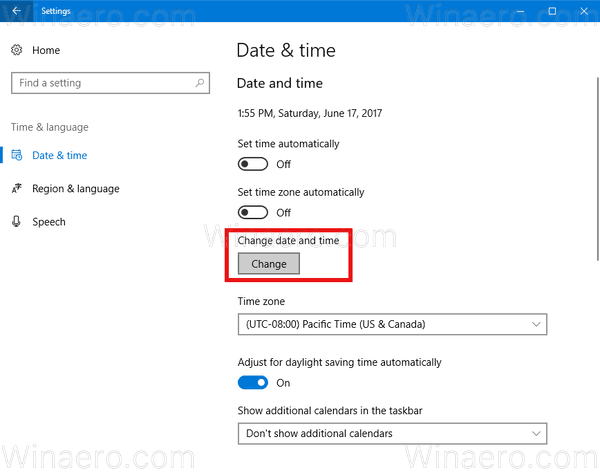
- Click the Change button under Change date and time.
- The following window will appear.
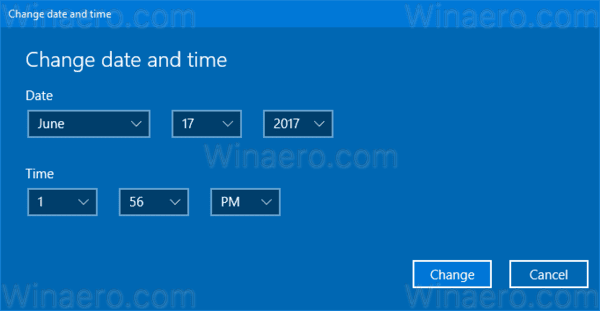 Change the date and time to the correct values of month, day, year, hour and minute. Click the Change button to set new values.
Change Date and Time in Windows 10 using Command Prompt
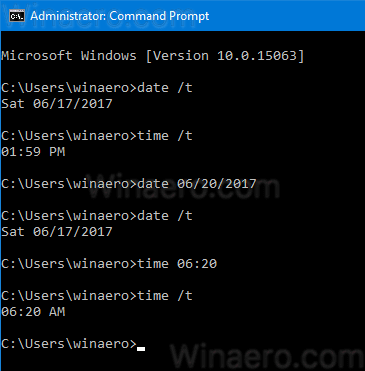
To change Date and Time in Windows 10 using the command prompt, perform the following steps.
- Open an elevated command prompt.
- To see the current date, type or copy-paste this command:
date /t
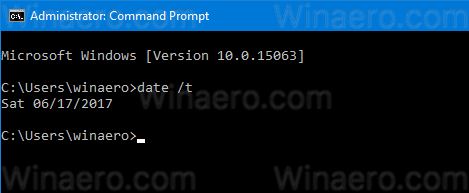
- To see the current time, type the command:
time /t
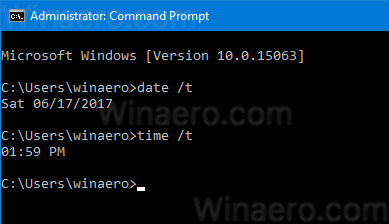
- To set a new date, execute the following command:
date MM/DD/YYYY
The arguments are as follows:
MM is the month of the year, for example 06.
DD is the day of the month, e.g. 20.
YYYY is the year, e.g. 2017.
For example:date 06/20/2017
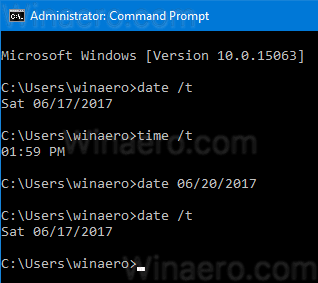
- To set the new time, execute the following command:
time HH:MM
The arguments are as follows:
HH are the hours, for example 06.
MM are the minutes, i.e. 20.
For example:time 06:20
