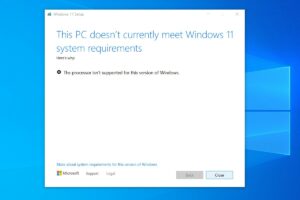
If you’re currently seeing “This PC doesn’t currently meet Windows 11 system requirements” or “The processor isn’t currently supported for Windows 11,” there’s a Microsoft-approved registry hack that should instantly make it better.

(We’ve tested this method working on a Dell XPS 15 with Core i7-7700HQ and a Microsoft Surface Go with Pentium Gold 4415Y, neither of which are on Microsoft’s compatibility list.)
Here’s the whole process from start to finish in three easy steps.
1) DOWNLOAD THE WINDOWS 11 ISO
You’ll need to download the Windows 11 ISO.
2) EDIT THE WINDOWS REGISTRY TO BYPASS THE CPU CHECK
In Windows, hit Start and type regedit, then hit enter to launch the Registry Editor. Navigate to Computer\HKEY_LOCAL_MACHINE\SYSTEM\Setup\MoSetup, either by pasting that whole address into the box just beneath “File, Edit, View, Favorites, Help” or by drilling down through the HKEY_LOCAL_MACHINE and System and Setup and MoSetup folders one at a time.
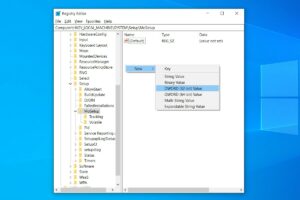
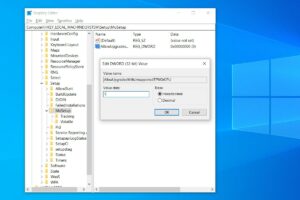
In the right pane, right-click and pick New > DWORD (32-bit) Value. Name the value “AllowUpgradesWithUnsupportedTPMOrCPU” minus the quotes. Double-click on the new value you created, and enter 1 into the Value data field. Hit OK and close the registry editor.
3) OPEN THE ISO IN WINDOWS EXPLORER AND LAUNCH SETUP
Did the ISO finish downloading? Just right-click on it and pick Open with > Windows Explorer to mount the virtual disc, then double-click the setup file to begin installation.